Showing posts with label Paint. Show all posts

Thursday, December 29, 2011

Espresso Paint

I helped my friend, Robyn, refinish a dresser before Christmas and it turned out awesome. It was so fun to have someone to paint with and definitely sped the process up a ton!! We had the thing sanded, primed, and painted all in 2 days. Here she is...

Before & After

I haven't painted anything this color yet- which is really weird, I know- so I was happy to try it out! The piece wasn't solid wood, so we:
1. Sanded
2. Primed with KILZ (we had Home Depot  tint it cream color so it would show through once we distressed it)
3. Painted with Behr (if you'd like the color leave a comment)
4. Distressed with good 'ol sand paper
5. Rubbed a little stain over it (because I love how it takes normal cream colors and antiques them a little bit)
------------------------------------------
We bought the hardware at Hobby Lobby (of course) but knew it would be too dark...
So we brushed on some extra cream-colored primer with our fingers (really technical :))...
Super excited with how it turned out and SUPER excited about the pictures I MADE my friend take of it for me :) Finally a decent furniture shot... thank you Jourdan!! ....

I always hate seeing furniture go, but love getting ready for new projects! :)

Monday, November 14, 2011

Yellow

My husband would probably tell you I'm awesome at starting projects and not-so-awesome at finishing them... eh... oh well. I bought this credenza back in Utah for $40 or $50, which, usually would seem like a little much, but in this case the thing probably weighs 300lbs and is SOLID so it was totally worth it. I wanted to use it as a dresser for under my tv (yes, I already have one, but why not switch it up already?) so eventually that will be the case. I'm still waiting to decide what to do with the middle part... You'll see what I mean....

Before

After
I can't decide if I want to cut out a section of the cabinet doors so that we can put our cable box, x-box, etc. inside and still be able to use the remotes with the doors shut. Make sense? So let me think about it for a few more months THEN maybe I'll finish it :) Ideas or thoughts anyone?
 Love, love, love the handles from good ol' Hobby Lobby for 50% off...
I just noticed my daughter wrote on the dresser with marker the other day. Can you spot it in the picture? Yes, she got in trouble. Will it happen again? You can sure count on it.

Sorry for showing you, yet, another unfinished piece. But let's be honest, it might be a while before the thing is FULLY finished, so I decided to post it already. :)

Saturday, October 29, 2011

5 Months Later...

HERE I AM!!!

Wow 5 months of no blogging?!? What is wrong with me?!? Well, I have no excuse, but a lot of them at the same time. We moved to Arizona and I guess my focus changed. Changed to what? Well... I started working out way too much (stupid aging bodies- can't keep up with them), started being (or trying to be) better at keeping a clean house, cooking more with different recipes- not the same ol' ones that circle your kitchen week after week and somewhere in there lost time for my craftiness!! So sad, I know. BUT in all of that I've still finished a few things here and there. To start off with, the vanity you never got to see completely finished...

Sorry, I'm pretty sure a few of these pictures were taken with my phone :( ...
It was my Great Grandmother's that she got for her wedding. My husband FLIPPED out when the set was given to us and said there was no way it could go into our home. Sooo this is the original set that started my love of furniture refinishing. I painted everything but the vanity until now because we never had the room, but my daughter LOVES to dance so I thought it would be fun for her to put her dance clothes in the drawers and be able to twirl around in front of the mirror. :) I was right, she loves it!
 The mirror that you never got to see...
 And the finished product ...
 (well... with a few kid smudges that still need to be fixed!)
 I L.O.V.E. all the detail...
 Like I said, don't look at the kid smudges, but the knobs are from Hobby Lobby...
It turned out a little brighter than I would've liked, but I still love it. I wanted her room to be teals, grays, creams with a little pink so we're slowly making our way to that. SOMEDAY I'll have her room finished! :) 

Sorry so short and sweet, but I'm making my way back to the blogging world, so that will have to do for now!

Wednesday, April 20, 2011

Vanity

Furniture Tip: Don't bring your painted piece into your house before it's 100% dry when you have a 3 year old running around the house. :) ...

Ok, it wasn't that bad. I finished staining the piece, brought it inside the next day (stain on paint takes a while to fully dry) and my little princess thought it would be neat to climb on the furniture. She learned quickly it was not that neat :). 

I half-way finished the vanity this week. The bottom part is done, but the mirror is still waiting for some love. Here are the before and half-way finished pictures...

Before (sorry it's not the best shot) ...
After...
 If you look close you can see where my daughter stepped... That will be fixed soon :(

I still need 2 more knobs, but I'm pretty happy with how these ones turned out. I bought them a while back at Hobby Lobby during their 50% off knob sale and they happened to look pretty cute on here. Yes??

*Sorry again for the pictures, I'm still needing to get my nice camera fixed :( . Half the pictures make the piece look SO bright and the other half make it look blue. Really it's aqua... if you were wondering :)

 More details to come when the piece is complete!

Saturday, March 26, 2011

Potential in Furniture

Wow I'm terrible. We move and my world stops?? Hmm... 

To be honest I've been trying to find the motivation to get moving again... painting, that is. I've been busy trying to find a preschool for my daughter--which has been ridiculously difficult by the way, doctors, dentists, insurances, etc... And as frustrating as that has been I've been trying to regulate my health issues at the same time. I won't go into too much detail, but I have a thyroid disease that affects pretty much EVERYTHING and every part of me. The worst symptoms for me have been tiredness and muscle aches so you can imagine trying to motivate myself with those issues. It's AWFUL, I'll just leave it at that so I don't bore you to death!  :)

Anyway, I have two pieces sitting in the garage waiting to be finished and paint on the shelf to finish them. With a hubby away for a few days, I think I might actually get some work done! In the meantime, however, here are a few pictures of some bar stools I helped my friend refinish a little while ago...

Before:
After:

Nothing too crazy, I know, but I thought they turned out so cute and she did a great job! This isn't so much of a tutorial post, but more of a FURNITURE POTENTIAL post. I hope this helps you see what things CAN turn into. Whoever owned these was probably so sick of the old, outdated look, but throw a little paint on them and they're adorable!

So what do you have in your house that needs a little love?

Thursday, December 16, 2010

My Love, Wherever You Are

I finished this dresser over the summer and I still miss it to this day. Pathetic, I know! I just loved how chunky it was, yet so feminine. Some of you have seen this one already, so I'm sorry about that, but here it is anyway...

Yes, all of the handles are missing except for one... that's because I always get too anxious to start my projects and forget to take the pictures first! So, this is me, remembering to take them right before I took off the last handle :) 
Before & After...


I sold this piece to a cute couple waiting for their sweet baby girl to arrive. It was going to be put in her bedroom... how cute is that!? :)

So going back to the title of this post,

My love, wherever you are... I miss you.

Ok, a little creepy, I know. :)

Saturday, December 11, 2010

My Red Chair

Slowly, but surely my garage will be cleaned out! First up, my yard sale chair from my previous post...
I finished it last night after months of it just sitting in my garage. I'm sorry chair. And husband. :) I've also had a credenza sitting in my garage that I WAS going to sell, but couldn't part with that either so now it's going to be moving with us to Arizona. The point of me telling you all this is because I wanted the credenza to be a light yellow and glazed in tobacco and I thought it'd e cute to have my chair next to it painted red. So here she is...


How To:

Take chair apart to see what's underneath- the seat should be screwed into the base so just remove the screws and the seat should pop right out. Mine looked pretty scary!...
 If you're lucky enough and the seat is in pretty good condition you don't even need to worry about removing anything, just skip all the next steps and staple your fabric right over the top! Mine was nasty so I removed all the staples, nails, 2 sets of fabric, and the cotton in between and completely re-did it.

After the seat was off I filled a few holes that needed filling. Most of the time I like holes, I think they give it more character and look great once you've glazed over the top, but sometimes the holes are just too much. To fill the holes just buy a wood filler-I like the minwax brand, but this time I think I used Elmers and it was just fine. You can find filler at Walmart, Lowes, Home Depot, etc. in the paint isle. Fill the holes with your finger, just pushing the stuff in so it's over-filling over the hole. I don't like to scrape away anything because sometimes it makes it so you can still see the hole afterward, so I just leave it and deal with it after it dries...
 After that dried, I gave her a light sanding over the dried holes, around the edges and the areas that were really bad...
This is what your holes will look like after you've filled them and sanded them down (it's the lighter stuff in the picture)...
 After that I primed the chair with KILZ spray primer. Sorry, this is when my camera died so no pictures of that part :( Then I spray painted with Krylon Cherry Red in gloss sheen and glazed over the top (for questions on glaze refer to THIS post).

Now for the reupholstering part:

I traced the wood part of the seat onto my foam and cut it out with a knife (If you have a carving knife those are best).
 Lay your seat on top of batting. This step isn't absolutely necessary, but the fabric I loved wasn't upholstering fabric and, therefore, not as thick, so I wanted the extra layer to help pull the foam together.
 Pull tightly on the batting, one side at a time and staple your batting to the wood. I knelt down on my seat so the foam would squish to it a little, making the edges of the foam curve down a bit. This part doesn't have to be perfect!
 Now lay your seat on top of your fabric. Since mine wasn't upholstering fabric I doubled it to make it thicker. 
Then do the same as you did with the batting- fold the fabric over the seat and staple pulling tightly. I knelt on the seat again to do this.
 Fold and staple one side, then the opposite, then the other two sides leaving a little space around the corners. When you've finished all four sides, finish off the corners by folding however you like. Work with them a little until you decide what you like...
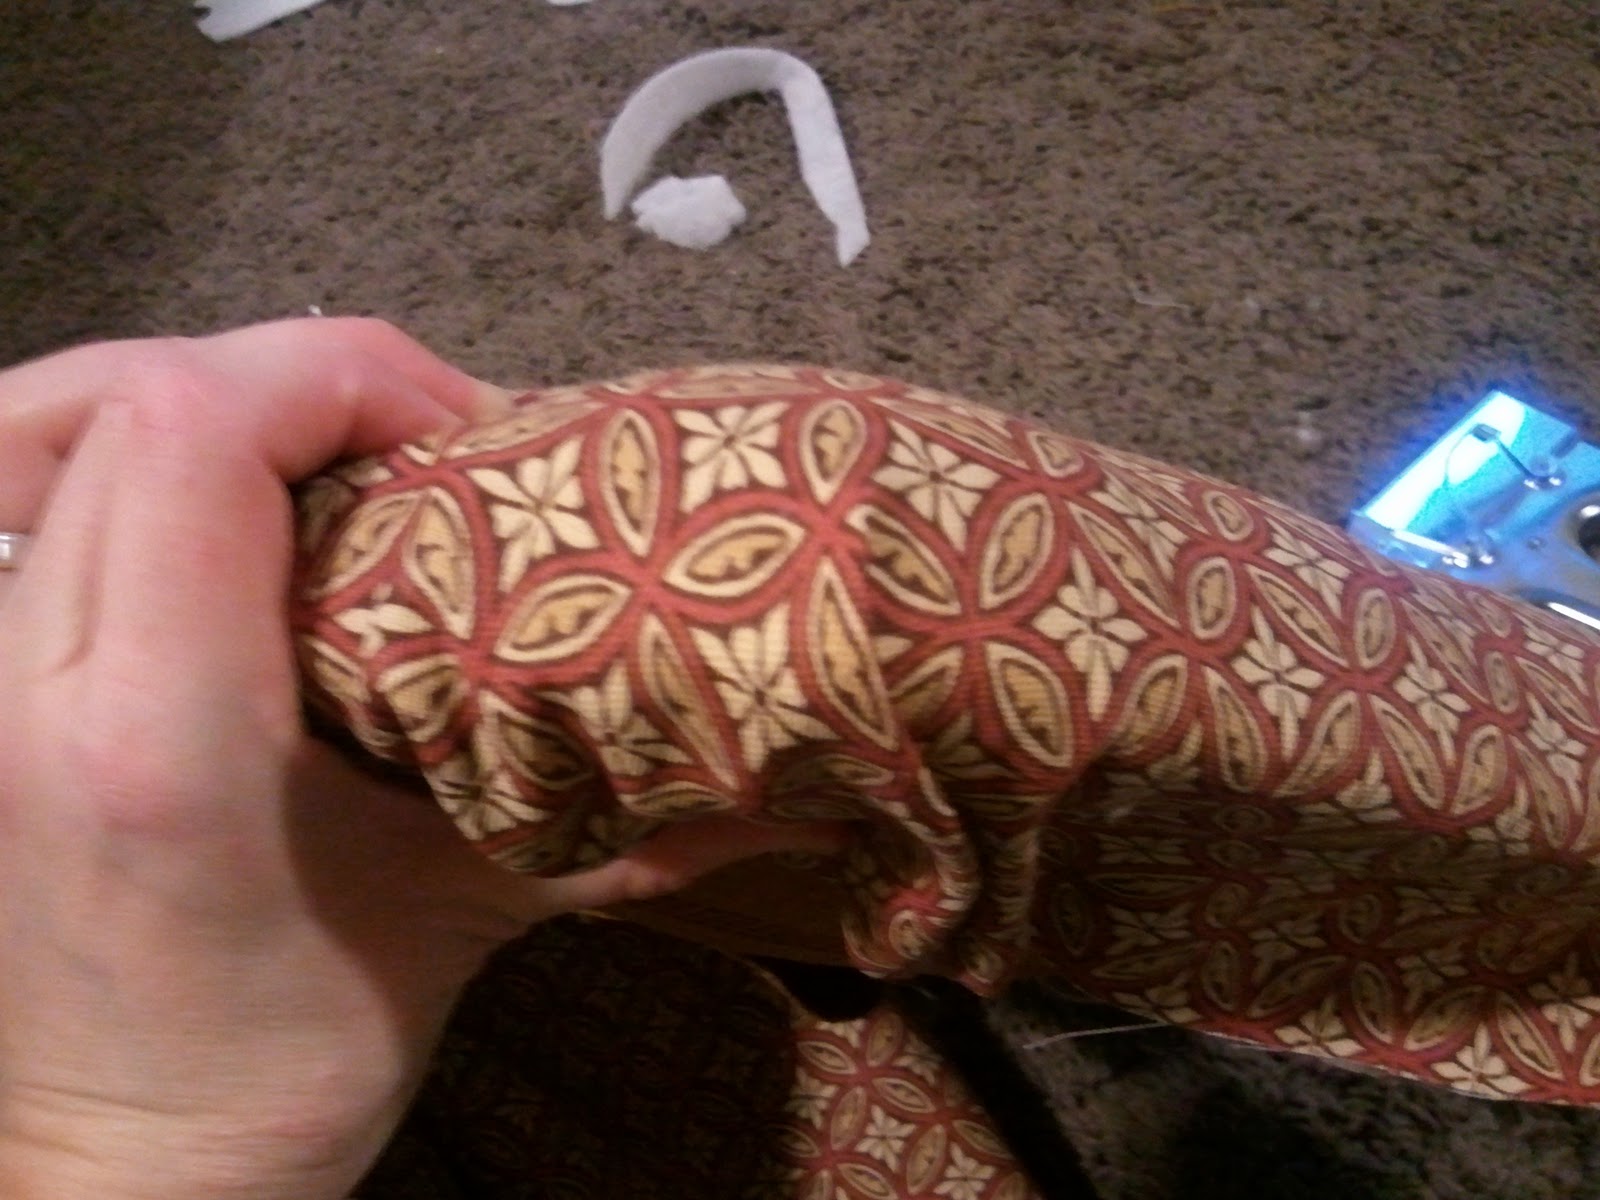
 When you've finished stapling cut off the excess fabric...
Now turn over your seat and see if it looks even. You might have a few parts that look like they've been pulled tighter than the rest, if that's the case you can either pull out the staple and re-staple it or just add a few more staples to the side to make it all blend.

And the final...


 Its current position until the move...

And the before & after again:


*I debated on putting a little applique piece on the top, but decided I didn't want it to take away from the cute, simple design of the chair... hopefully I made the right choice! :)

Do you like my yard sale find??