Sunday, December 12, 2010

ONLINE CHRISTMAS SHOPPING

Hello everyone!
The holidays are here! If you STILL don't know what to get your MOTHER, SISTER, MOTHER IN LAW, or WIFE...HERE IT IS!! My friend recently started selling Mary Kay and is offering 10% off your entire purchase through her website. Mary Kay has amazing products and fun pampering items that you can give to people who wouldn't normally buy it for themselves or the ones who have 'everything'.

The great thing about this party is it's ONLINE so you don't have to leave your couch! :) This time of year is so busy so it's a great way to do your Christmas shopping in the comfort of your own home! 
*if you need gifts in time for Christmas please place your order by 12/15/2010

Just go ONLINE to www.marykay.com/trisha.jacobson and place an order.

GET 10% OFF YOUR ENTIRE ORDER!! At checkout just enter code E7A861 in the event code to get discount etc.

I am hosting this through Trisha Jacobson's site. Please visit her facebook page and become a fan to get more deals....Mary Kay By Trisha
Her email is Trisha.Jacobson@marykay.com if you have any questions about products etc.
**And p.s. she also has a super cute website so head on over and check her out! ... www.delishatalk.blogspot.com
 
HAPPY SHOPPING!!!!

Life Happens
 
You're invited to visit your pretty place and party with a purpose. You'll look fabulous and feel good because you're supporting a company that cares. So join the girls and me. And feel free to pass this invitation on to others who could use some quality pretty time too.
 

  Host:
  Ashely Treu
  When:
  12/13/2010, 12:00AM-12/18/2010 11:59PM
  Where:


RSVP  
  See who will be attending the party and invite friends.  
  Take this quiz and learn more about you, and your friends. See the results on the party page.  
  Upload a photo and get a head start on finding your next fabulous look.  
 
 
Connect with a company committed to giving back. Every day Mary Kay® is making life better for women and children around the world by helping stop domestic violence and funding research for women&'s cancers and environmental concerns.
    
 
©2009 Mary Kay Inc.


Saturday, December 11, 2010

My Red Chair

Slowly, but surely my garage will be cleaned out! First up, my yard sale chair from my previous post...
I finished it last night after months of it just sitting in my garage. I'm sorry chair. And husband. :) I've also had a credenza sitting in my garage that I WAS going to sell, but couldn't part with that either so now it's going to be moving with us to Arizona. The point of me telling you all this is because I wanted the credenza to be a light yellow and glazed in tobacco and I thought it'd e cute to have my chair next to it painted red. So here she is...


How To:

Take chair apart to see what's underneath- the seat should be screwed into the base so just remove the screws and the seat should pop right out. Mine looked pretty scary!...
 If you're lucky enough and the seat is in pretty good condition you don't even need to worry about removing anything, just skip all the next steps and staple your fabric right over the top! Mine was nasty so I removed all the staples, nails, 2 sets of fabric, and the cotton in between and completely re-did it.

After the seat was off I filled a few holes that needed filling. Most of the time I like holes, I think they give it more character and look great once you've glazed over the top, but sometimes the holes are just too much. To fill the holes just buy a wood filler-I like the minwax brand, but this time I think I used Elmers and it was just fine. You can find filler at Walmart, Lowes, Home Depot, etc. in the paint isle. Fill the holes with your finger, just pushing the stuff in so it's over-filling over the hole. I don't like to scrape away anything because sometimes it makes it so you can still see the hole afterward, so I just leave it and deal with it after it dries...
 After that dried, I gave her a light sanding over the dried holes, around the edges and the areas that were really bad...
This is what your holes will look like after you've filled them and sanded them down (it's the lighter stuff in the picture)...
 After that I primed the chair with KILZ spray primer. Sorry, this is when my camera died so no pictures of that part :( Then I spray painted with Krylon Cherry Red in gloss sheen and glazed over the top (for questions on glaze refer to THIS post).

Now for the reupholstering part:

I traced the wood part of the seat onto my foam and cut it out with a knife (If you have a carving knife those are best).
 Lay your seat on top of batting. This step isn't absolutely necessary, but the fabric I loved wasn't upholstering fabric and, therefore, not as thick, so I wanted the extra layer to help pull the foam together.
 Pull tightly on the batting, one side at a time and staple your batting to the wood. I knelt down on my seat so the foam would squish to it a little, making the edges of the foam curve down a bit. This part doesn't have to be perfect!
 Now lay your seat on top of your fabric. Since mine wasn't upholstering fabric I doubled it to make it thicker. 
Then do the same as you did with the batting- fold the fabric over the seat and staple pulling tightly. I knelt on the seat again to do this.
 Fold and staple one side, then the opposite, then the other two sides leaving a little space around the corners. When you've finished all four sides, finish off the corners by folding however you like. Work with them a little until you decide what you like...
 When you've finished stapling cut off the excess fabric...
Now turn over your seat and see if it looks even. You might have a few parts that look like they've been pulled tighter than the rest, if that's the case you can either pull out the staple and re-staple it or just add a few more staples to the side to make it all blend.

And the final...


 Its current position until the move...

And the before & after again:


*I debated on putting a little applique piece on the top, but decided I didn't want it to take away from the cute, simple design of the chair... hopefully I made the right choice! :)

Do you like my yard sale find??

Tuesday, December 7, 2010

My Yard Sale Find

I found this chair at a yard sale a couple months ago and decided since we're moving soon I should probably hurry and get all of my projects finished before then! I'm debated on keeping it for a while and decided I didn't want to part with it just yet, so for now it's mine!! Here's the before...
And if it's not finished by the end of the week somebody please shoot me! :)

Wednesday, December 1, 2010

Burlap Stocking How-To

 
I saw a picture on a blog a while back that showed burlap stockings and they were SO SO cute!! I've never bought our family "official" stockings because, let's be honest, they're usually pretty pricey if you want cute ones (unless you find ridiculous deals at Pottery Barn, like my mother in law did last year... I'm still so jealous!).

Anyway, burlap is awesomely cheap so I decided to make them myself... finally! I'm pretty excited about how they turned out, nothing fancy or frilly, just simple and cute...

Let me just apologize before hand about lack of how-to pictures, my camera (which is only a year old) broke over Thanksgiving- not that I was ever a professional photographer anyway, we all know that!

How-To

1. I used a decorative wall stocking that I have to make a pattern, but you can just draw one out. I did mine a little larger, so I just traced it about an inch bigger. I placed the stocking on wax paper, drew around it, and cut out.

2. Pin your wax paper stencil to your fabric and cut out...
(Don't mind the writing, I was just playing!)

3. If you want to add any pieces to the outside of the stocking (like I did on the toe and heel) do it now before you sew the front and back pieces together. I didn't use any pattern for this, just cut as I went. Remember it's burlap so it doesn't have to be perfect! Pin your heal/toe pieces to the stocking front and sew.

4. Sew the front and back pieces of your stocking together.
*Don't turn the stocking inside-out yet.
5. For the top of the stocking fold your burlap piece in half.  Iron it to make it easier. When you buy burlap it comes folded in half, so I used as much as I had of that. (I haven't gotten much sleep lately so as of right now I can't think of how to say that better! Ha, sorry!)

6. Cut your top piece to fit your stocking. (Use your measuring tape to see how long you need it.) Mine ended up being about 7" wide x20" long.

7.  Fold the piece in half and sew on the very edge (about 1/4").
Your piece should look like this:
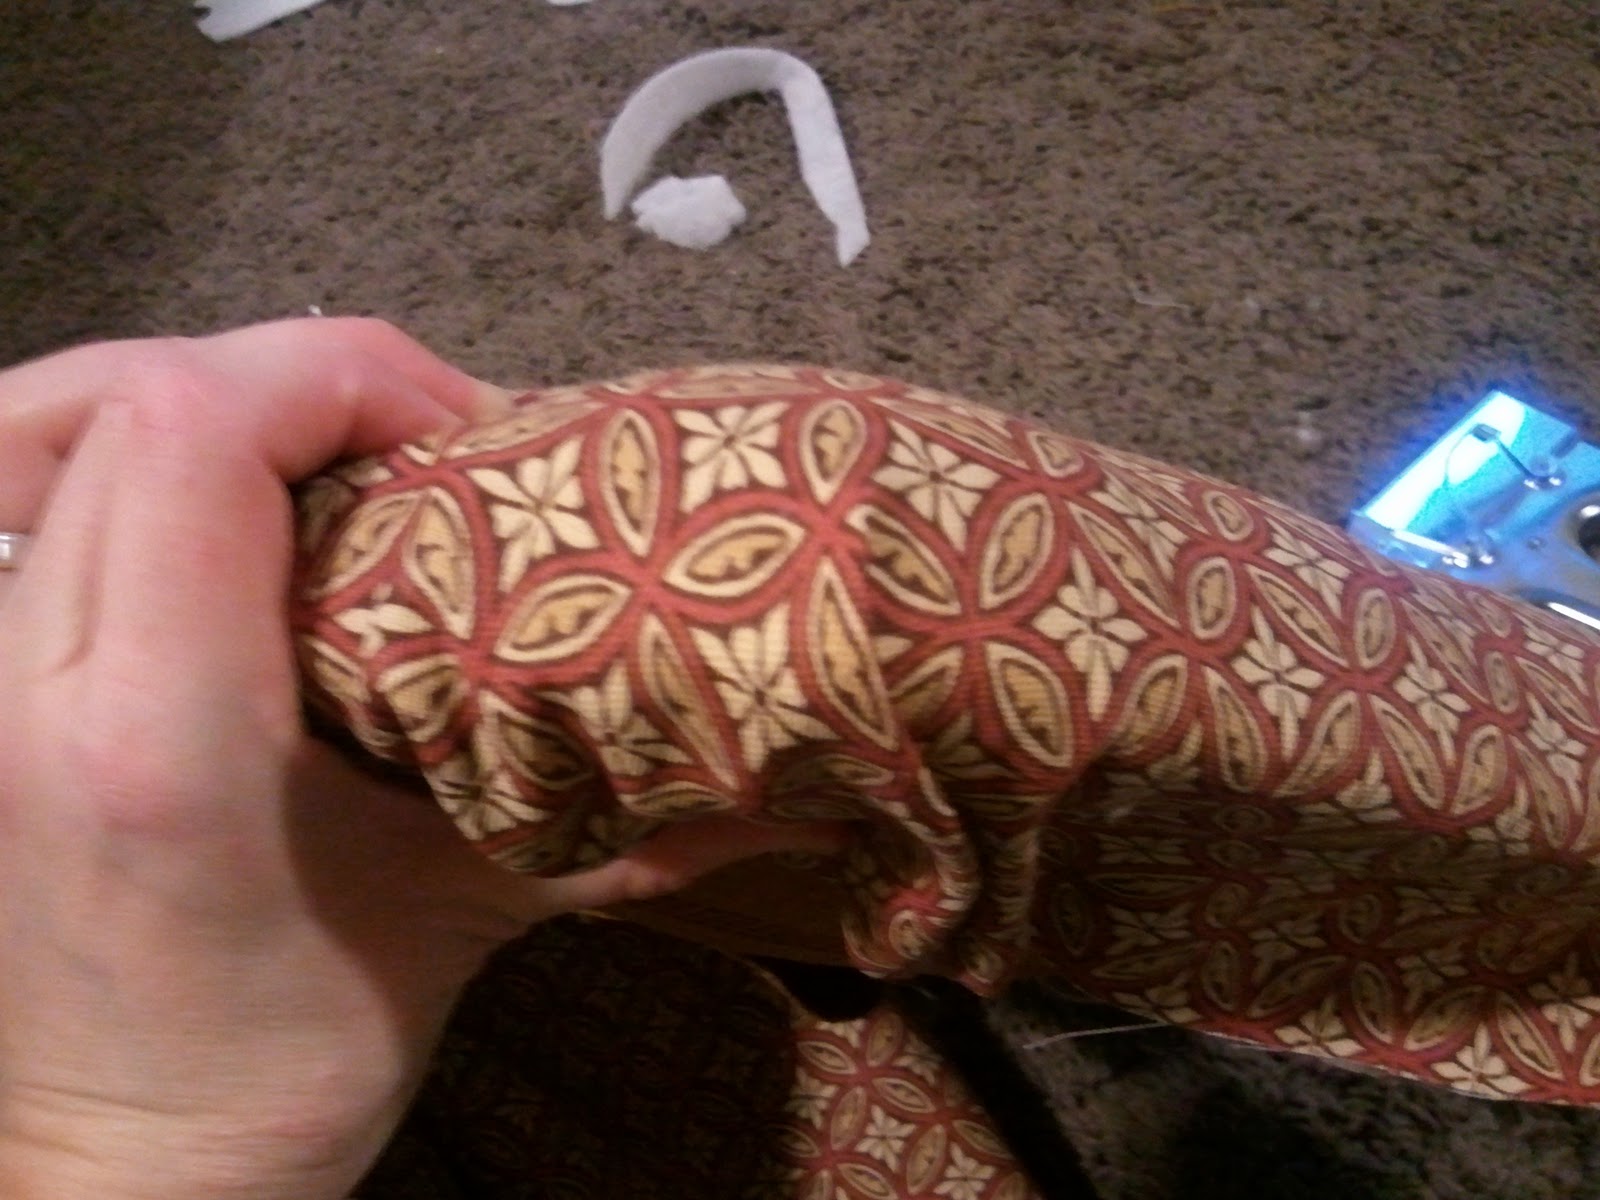
8. Place the sleeve inside your stocking - Like this picture, except put the piece inside the stocking - and sew on the top edge only.
9. Turn your right side out.
10. Sew on something to be able to hang your stockings by. I used this rope/hemp looking stuff from Hobby Lobby...
Sew it in the, let me think how to put this... Upper corner of the left side on the inside of the stocking. Wow that makes no sense, but I think you know what I'm talking about, yes? :) It's a little bit tricky, but I thought this was easier to do it this way then having to add it before the top of the stocking. You just have to maneuver your stocking around your sewing machine.

11. Add decorative pieces. I wanted the boys stockings to be simple and I couldn't find any buttons I liked so I went with these...
Yes, bottle caps :). You can use real caps, but they actually sell these at Hobby Lobby in the scrapbooking section.

For the ladies stockings I went with a prettier look. I followed a SUPER cute idea HERE  from Under the Table and Dreaming to make the flower thingys for mine and Taya's stockings...
I attached the flower thingy's (just get used to me saying "thingy's because it's going to happen a lot!) by gluing a piece of cardboard to the bottom of the foam, then I hot glued them onto the burlap. The cardboard was just to protect the foam so it wouldn't melt at all. Then I added some doily's for extra pizazz... do people still use that word? Make sure you put something in between where you're hot-gluing so you don't accidentally glue your stocking together.

12. Add your letters. I used my Cricut machine to cut the stencils, then taped them together and taped her name to the burlap. The tape is nice just in case you get any paint around the edges! Wait until it dries a little to peel off the stencil, but don't wait too long or the paper will stick and might rip up some of your paint. You can also just buy stencils if you want!
13. Pin your name to the stocking and sew around it. Again, it's a little difficult to maneuver your stocking around the machine, but I waited until the end to do this because I wanted to be able to see the exact placement.
Done!

Here's some close ups:


And on our fireplace...
Hope you like them!