
Slowly, but surely my garage will be cleaned out! First up, my yard sale chair from my previous post...

I finished it last night after months of it just sitting in my garage. I'm sorry chair. And husband. :) I've also had a credenza sitting in my garage that I WAS going to sell, but couldn't part with that either so now it's going to be moving with us to Arizona. The point of me telling you all this is because I wanted the credenza to be a light yellow and glazed in tobacco and I thought it'd e cute to have my chair next to it painted red. So here she is...

How To:
Take chair apart to see what's underneath- the seat should be screwed into the base so just remove the screws and the seat should pop right out. Mine looked pretty scary!...

If you're lucky enough and the seat is in pretty good condition you don't even need to worry about removing anything, just skip all the next steps and staple your fabric right over the top! Mine was nasty so I removed all the staples, nails, 2 sets of fabric, and the cotton in between and completely re-did it.
After the seat was off I filled a few holes that needed filling. Most of the time I like holes, I think they give it more character and look great once you've glazed over the top, but sometimes the holes are just too much. To fill the holes just buy a wood filler-I like the minwax brand, but this time I think I used Elmers and it was just fine. You can find filler at Walmart, Lowes, Home Depot, etc. in the paint isle. Fill the holes with your finger, just pushing the stuff in so it's over-filling over the hole. I don't like to scrape away anything because sometimes it makes it so you can still see the hole afterward, so I just leave it and deal with it after it dries...

After that dried, I gave her a light sanding over the dried holes, around the edges and the areas that were really bad...

This is what your holes will look like after you've filled them and sanded them down (it's the lighter stuff in the picture)...

After that I primed the chair with KILZ spray primer. Sorry, this is when my camera died so no pictures of that part :( Then I spray painted with Krylon Cherry Red in gloss sheen and glazed over the top (for questions on glaze refer to THIS post).
Now for the reupholstering part:
I traced the wood part of the seat onto my foam and cut it out with a knife (If you have a carving knife those are best).

Lay your seat on top of batting. This step isn't absolutely necessary, but the fabric I loved wasn't upholstering fabric and, therefore, not as thick, so I wanted the extra layer to help pull the foam together.

Pull tightly on the batting, one side at a time and staple your batting to the wood. I knelt down on my seat so the foam would squish to it a little, making the edges of the foam curve down a bit. This part doesn't have to be perfect!

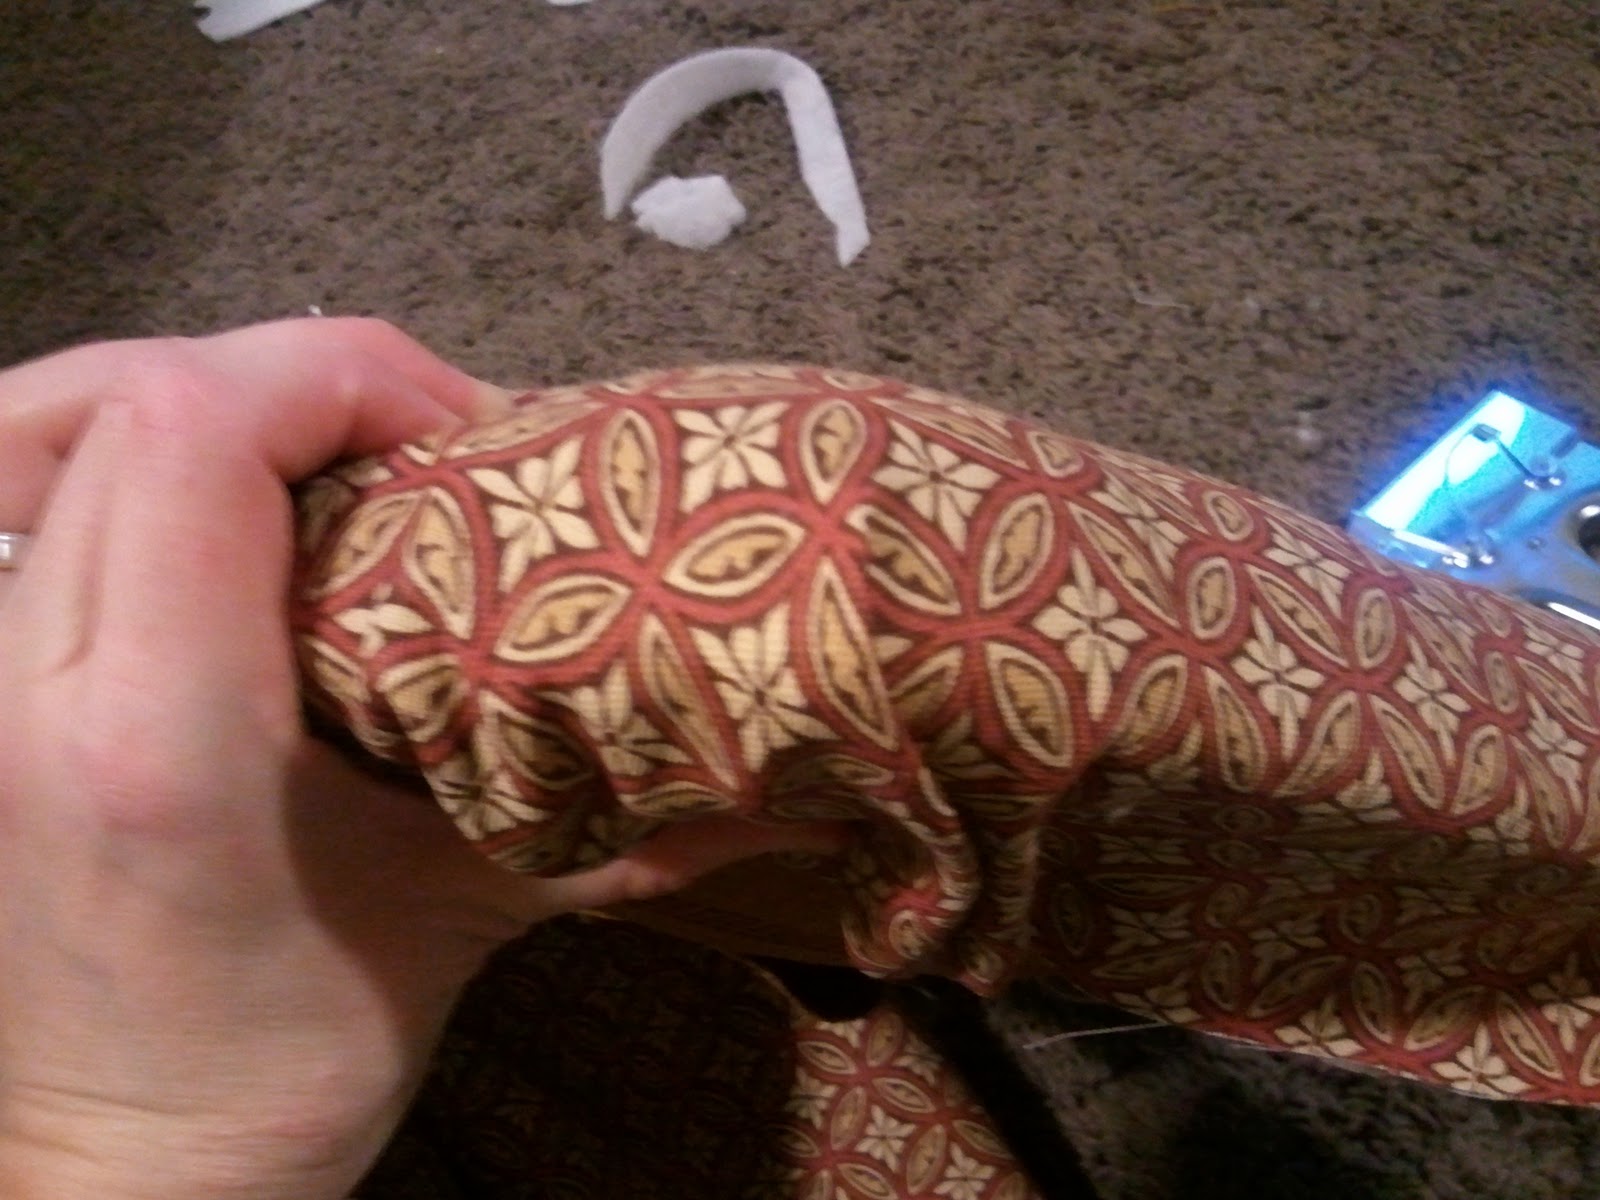
Now lay your seat on top of your fabric. Since mine wasn't upholstering fabric I doubled it to make it thicker.

Then do the same as you did with the batting- fold the fabric over the seat and staple pulling tightly. I knelt on the seat again to do this.

Fold and staple one side, then the opposite, then the other two sides leaving a little space around the corners. When you've finished all four sides, finish off the corners by folding however you like. Work with them a little until you decide what you like...
When you've finished stapling cut off the excess fabric...

Now turn over your seat and see if it looks even. You might have a few parts that look like they've been pulled tighter than the rest, if that's the case you can either pull out the staple and re-staple it or just add a few more staples to the side to make it all blend.
And the final...


Its current position until the move...

And the before & after again:
*I debated on putting a little applique piece on the top, but decided I didn't want it to take away from the cute, simple design of the chair... hopefully I made the right choice! :)
Do you like my yard sale find??
4 comments:
I really like this one Ashley!
The cherry red looks awesome! So cute I love your stuff and your new blog, you better keep it going when you are in AZ. It will be fun to see what stuff you pick up out there at garage sales!
I LOVE the red! Nice work!
This piece would look good in your old room at home. It's so pretty.
Post a Comment